It’s a hot topic again and OMDS is talking everywhere about how great the “built-in ND filter” is. Perhaps a little background should be “dropped” again.
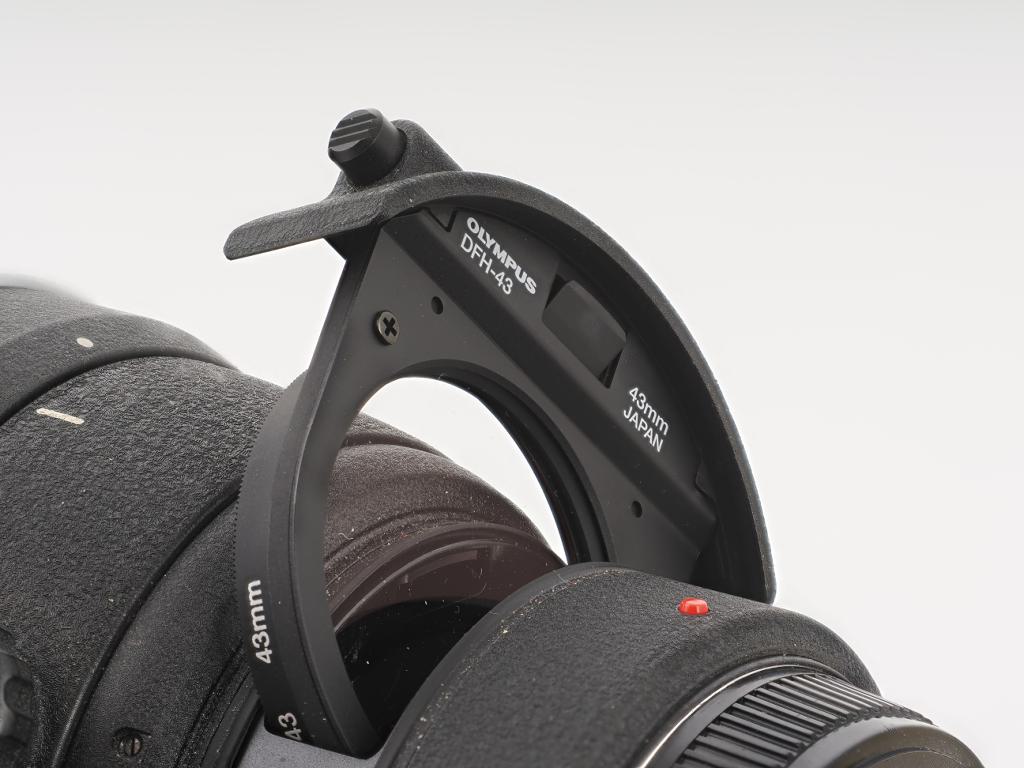
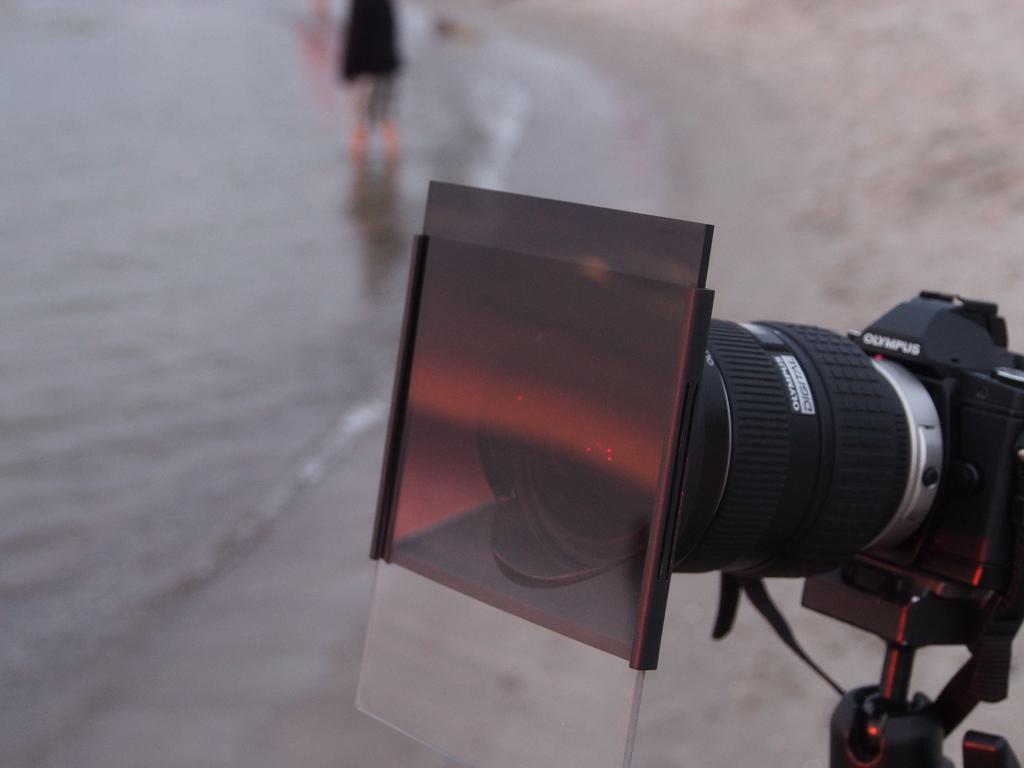
ND filters are darkened glass or plastic discs that are attached in front of the lens so that less light gets through. (There are also lenses that have a slide-in mechanism at the rear end where you can insert ND filters. This has various advantages: The filter is already included in the optical calculation because there is always a filter in there. And you don’t need to screw a large filter in front of the front lens, a small one at the back is sufficient. )
How dark these filters make is indicated by the “neutral density value”, or “ND” for short. This is a logarithmic value. Since such values are somewhat unpopular in marketing, as they do not assume impressive figures, other values have been used. Here is a corresponding table:
| Neutral Density | Number of EV dimming | Exposure time extension |
| ND 0,3 | 1 | 2x |
| ND 0,6 | 2 | 4x |
| ND 1,0 | 3,3 | 10x |
| ND 1,2 | 4 | 16x |
| ND 1,5 | 5 | 32x |
| ND 1,8 | 6 | 64x |
| ND 2,0 | 6,6 | 100x |
| ND 3,0 | 10 | 1000x |
| ND 4,0 | 13 | 10000x |
OMDS does not use the correct ND values for the OM-1 and OM5 in the camera, but the exposure time extensions with an “ND” in front of them. So ND2, ND4, ND8, ND16, ND32, ND64 etc. As you can see, there is no “8x” at the top of the list. Nevertheless, there are of course ND0.9 gray filters. And of course there are also ND2.1 filters, which are then 128x. I have only shortened the table.
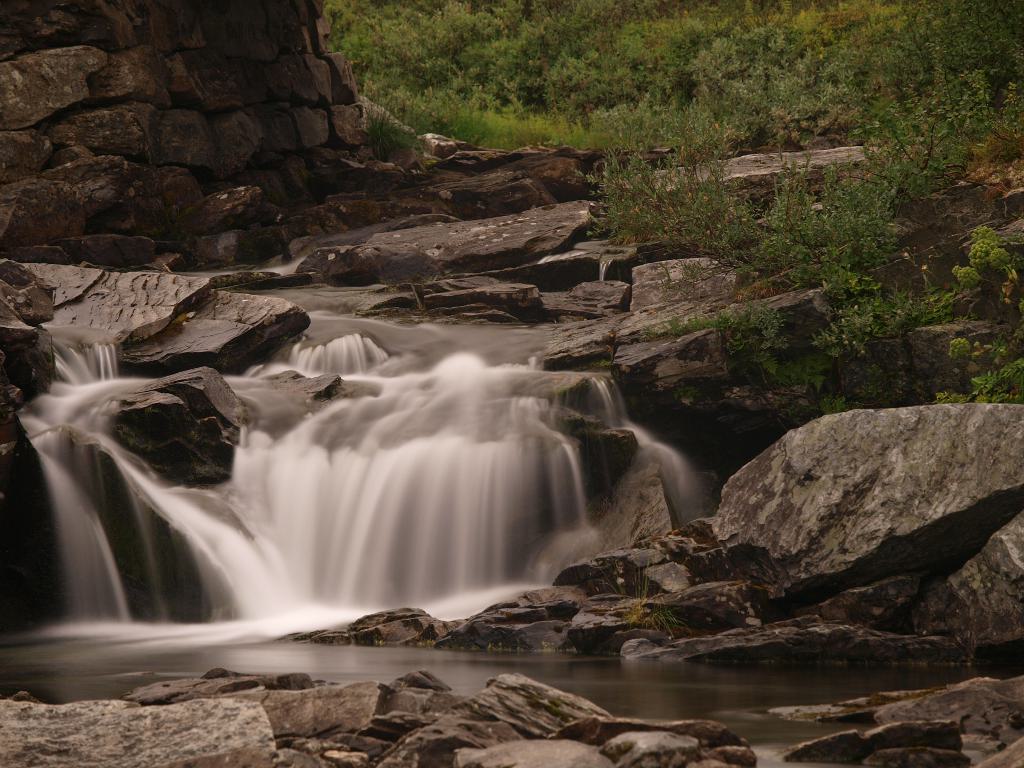
What is the difference between the gray glass plate and the “simulated” ND filter? With the gray glass plate, I have a continuous incidence of light that “naturally” adds up. With the simulated ND filter, a number of images are taken one after the other and the corresponding brightnesses are added from these images and then an average is calculated. The difference? None in principle. Whether you pour ten liters of water into a bucket or ten times one liter is pretty much irrelevant. If – yes, if nothing is lost in between. And that’s exactly what happens, because the sensor is erased between the individual exposures. And everything that happens during this time does not end up on the sensor. The slower the sensor is, the longer this “blackout time” is. This is why the E-M1X sometimes produced “artifacts” in waterfalls that are hardly noticeable with the OM-1. Precisely because the sensor is faster.
The “sync speed” of the sensor with electronic shutter has another effect. It limits the shortest possible exposure time. This is because the sensor can only take these “ND filter shots” with the sensor fully open. If the exposure time is shorter, rolling shutter effects can occur, especially with moving subjects, which are amplified during the addition. Take, for example, the photo of a propeller, which at 1/16000s and 16 exposures does not show a uniform disk, but 16 superimposed, crisp, bent propellers. The actual exposure time with a simulated gray filter is therefore at least the sync time. If it gets too bright to take a clean picture, the whole thing fails. With the E-M1X/III and OM-5 this is 1/60s, with the OM-1 1/120s.
In order to achieve apparently longer exposure times with the simulated gray filter, only more images are necessary. For ND128 with an OM-1 you would need about 128 pictures with 1/120s, which are in the buffer at the same time and are then calculated. As far as I know, the buffer of the OM-1 is not sufficient for this, so there is only ND64. You still want to have this effect? Stop down one aperture.
These problems do not exist with a “real” ND filter. The exposure time can be as short as you like, so you can actually use the gray filter to reduce the light.
Gradient ND filter
Now there is the “gradient ND filter”. This is mainly used when the sky is too bright compared to the foreground/middle ground. There are many different gray gradients. With a hard edge in the center of the image – which is particularly useful for sunsets by the sea – or with different “soft” gradients. These gray filters are also available in rotatable versions so that the gray gradients can be adapted to houses or mountains. The “soft” gradients are mainly there to ensure that things (trees, lighthouses) that rise into the sky do not change color all at once on the horizon, but that the whole number is a smooth transition that looks more natural.
If you didn’t have something like this before, you simply took the RAW and slapped a digital graduated filter on it in image processing. Or, if they didn’t feel like masking lighthouses and trees, they created an HDR in the camera or afterwards in image processing.
A “gradient ND filter in the camera” is not possible. The problem is that the camera cannot recognize what the photographer classifies as “too light” or “too dark”. If there was a way to specify in the camera where the gradient limit should be, this would not be a problem, because you would then simply exclude the corresponding masked area from the gray filter effect. However, the basic problem of the simulated gray filter would still remain: The minimum exposure time of 1/120s. The simulated gray gradient filter would therefore be limited to bad weather. For the sunset by the sea, you still have to buy the colored glass panes.
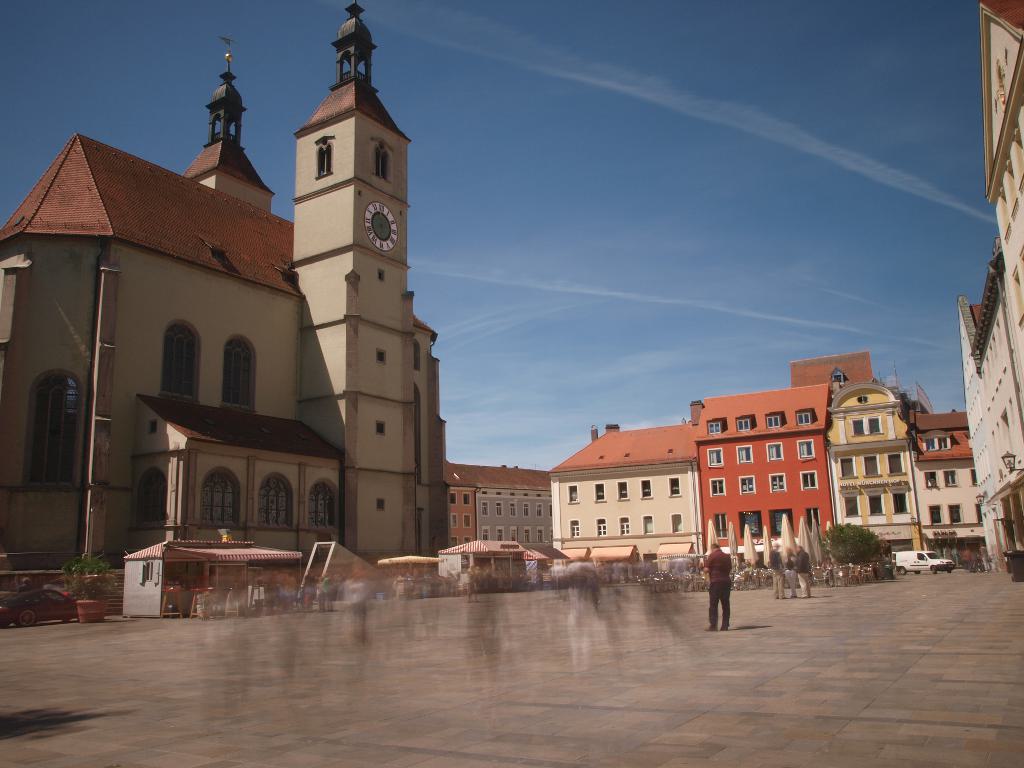
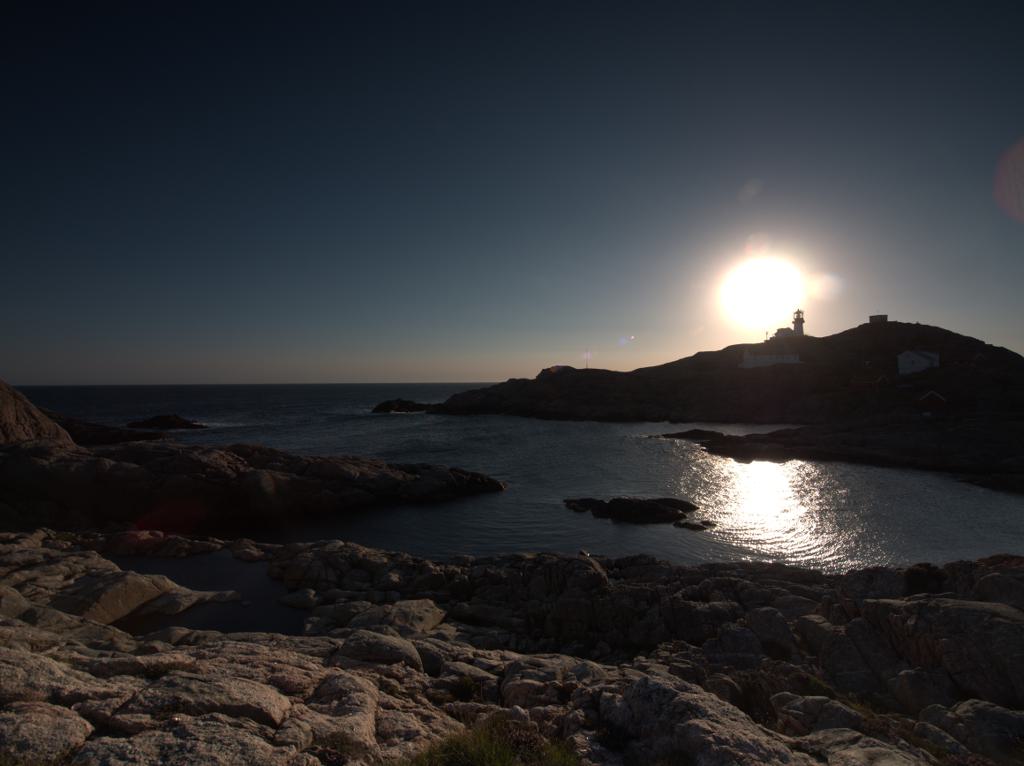
Cover picture: Regensburg, ND3.0 gray filter. 15s. Aperture 16, ISO 100, real brightness: 17EV. Maximum imageable with simulated ND64, ISO 100 and f/16: 15EV. Maximum exposure time in such a case: 1/2s. Such an image is therefore not possible with the simulated ND filter.